How to Perform a Technical SEO Audit for a Website
A website can have helpful content and good keyword targeting but still struggle in Google Search because of technical problems. Important pages may not be indexed, internal links may be broken, canonical tags may point to the wrong URLs, or slow server responses may affect the user experience.
A technical SEO audit helps you identify these problems before making random changes to your website.The purpose is not to achieve a perfect score in an SEO tool. It is to make sure search engines can discover, crawl, render, and understand your important pages while giving visitors a reliable experience.
In this guide, you will learn how to perform a technical SEO audit step by step using Google Search Console, PageSpeed Insights, website crawlers, and practical manual checks.
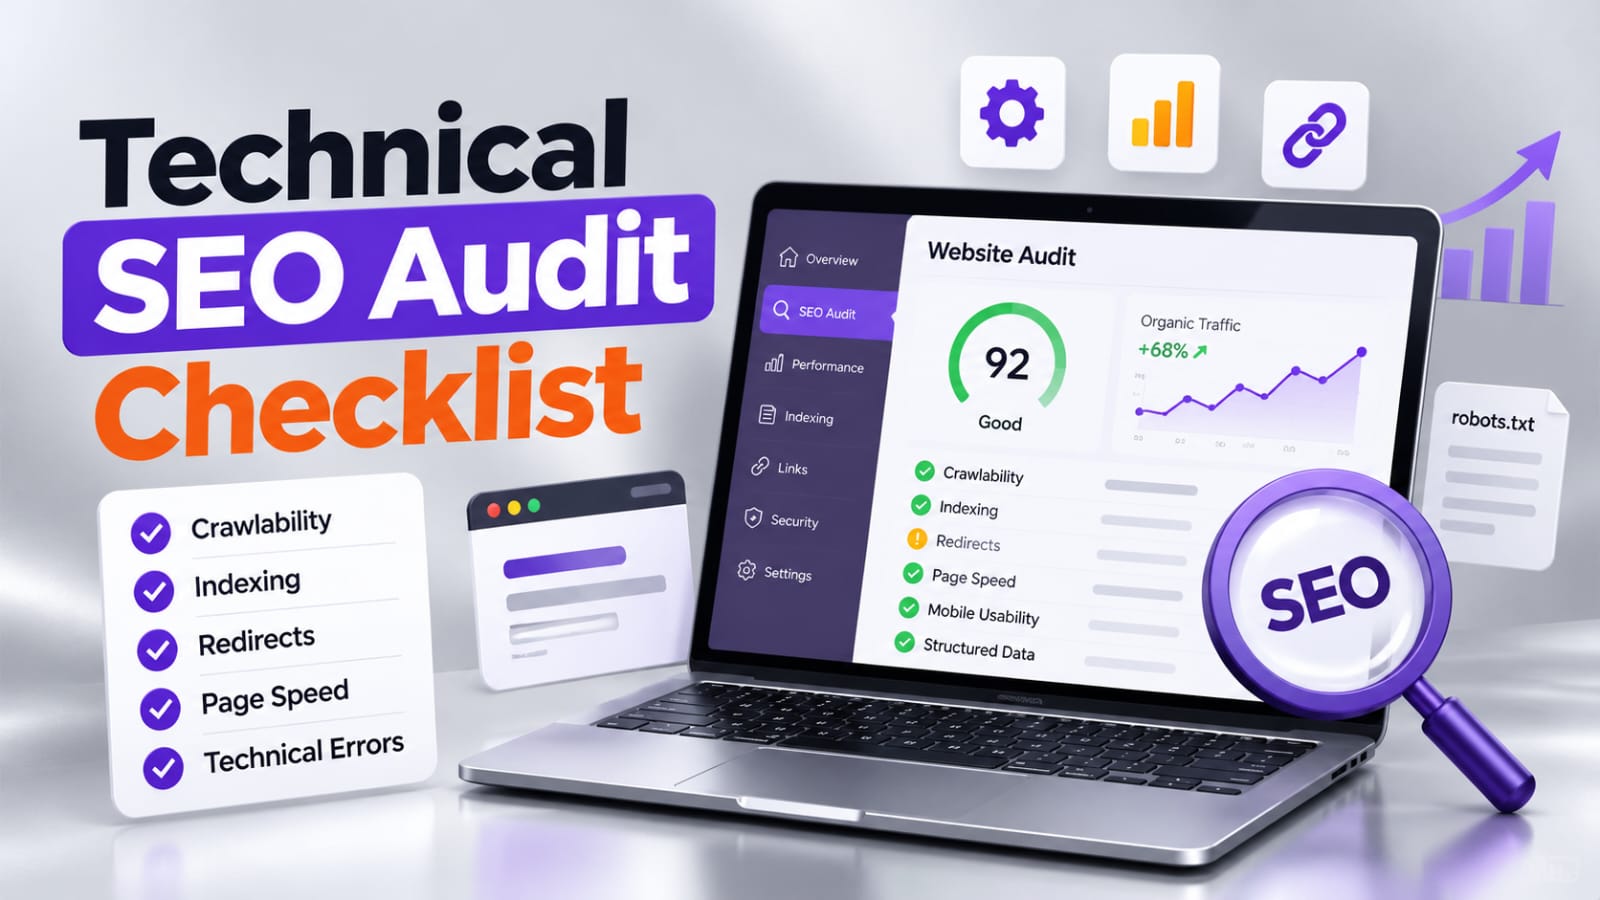
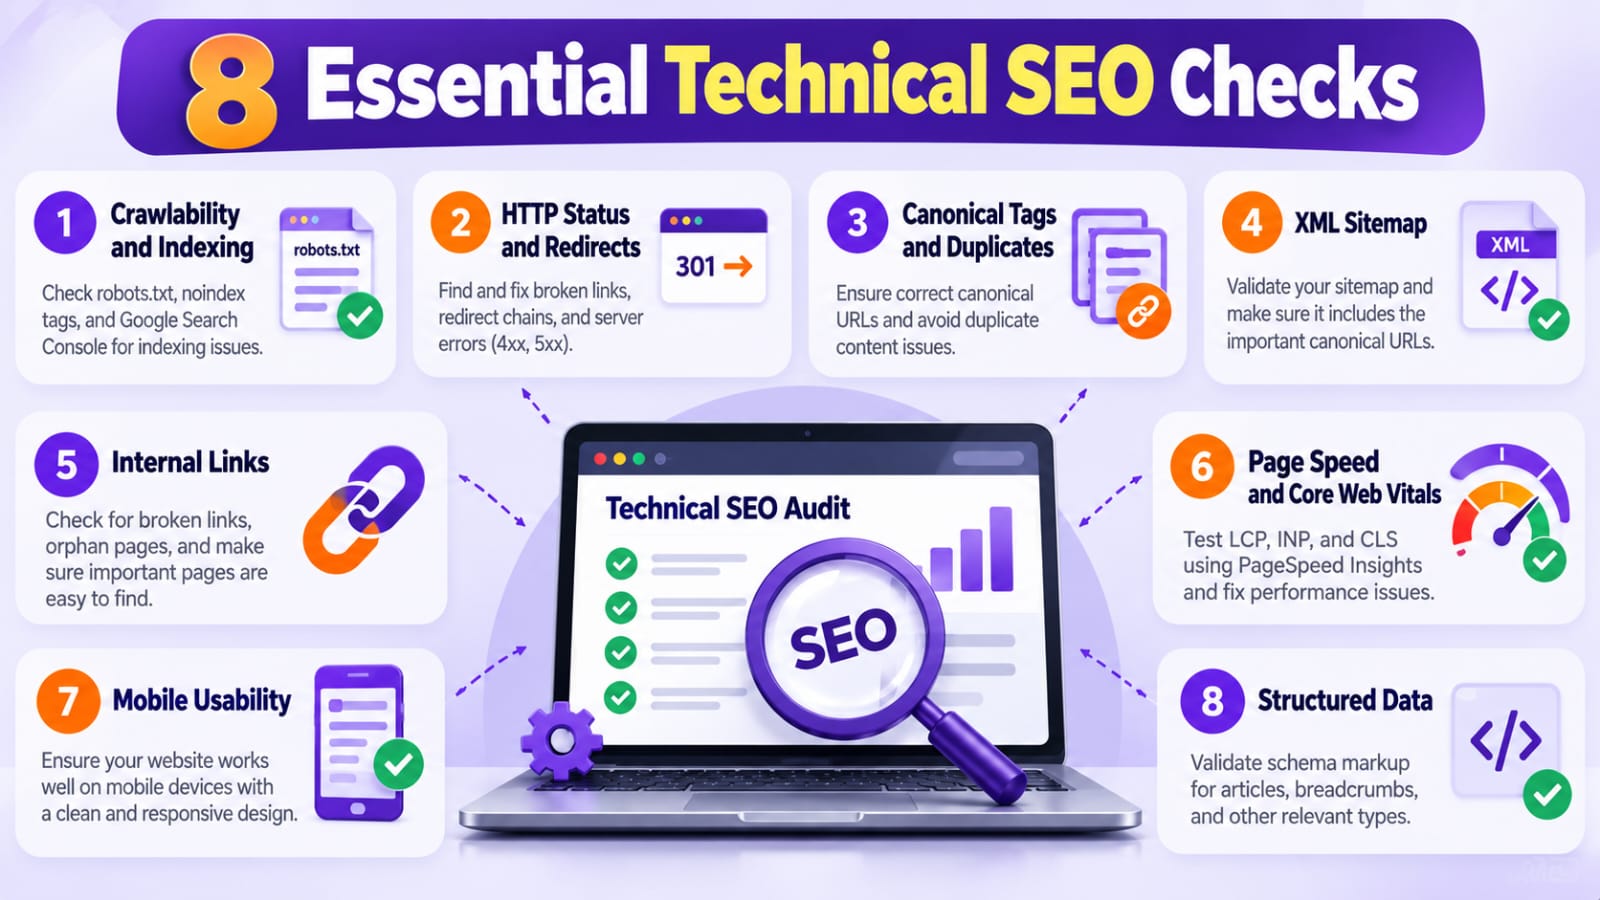
1. Check Website Accessibility and Crawlability
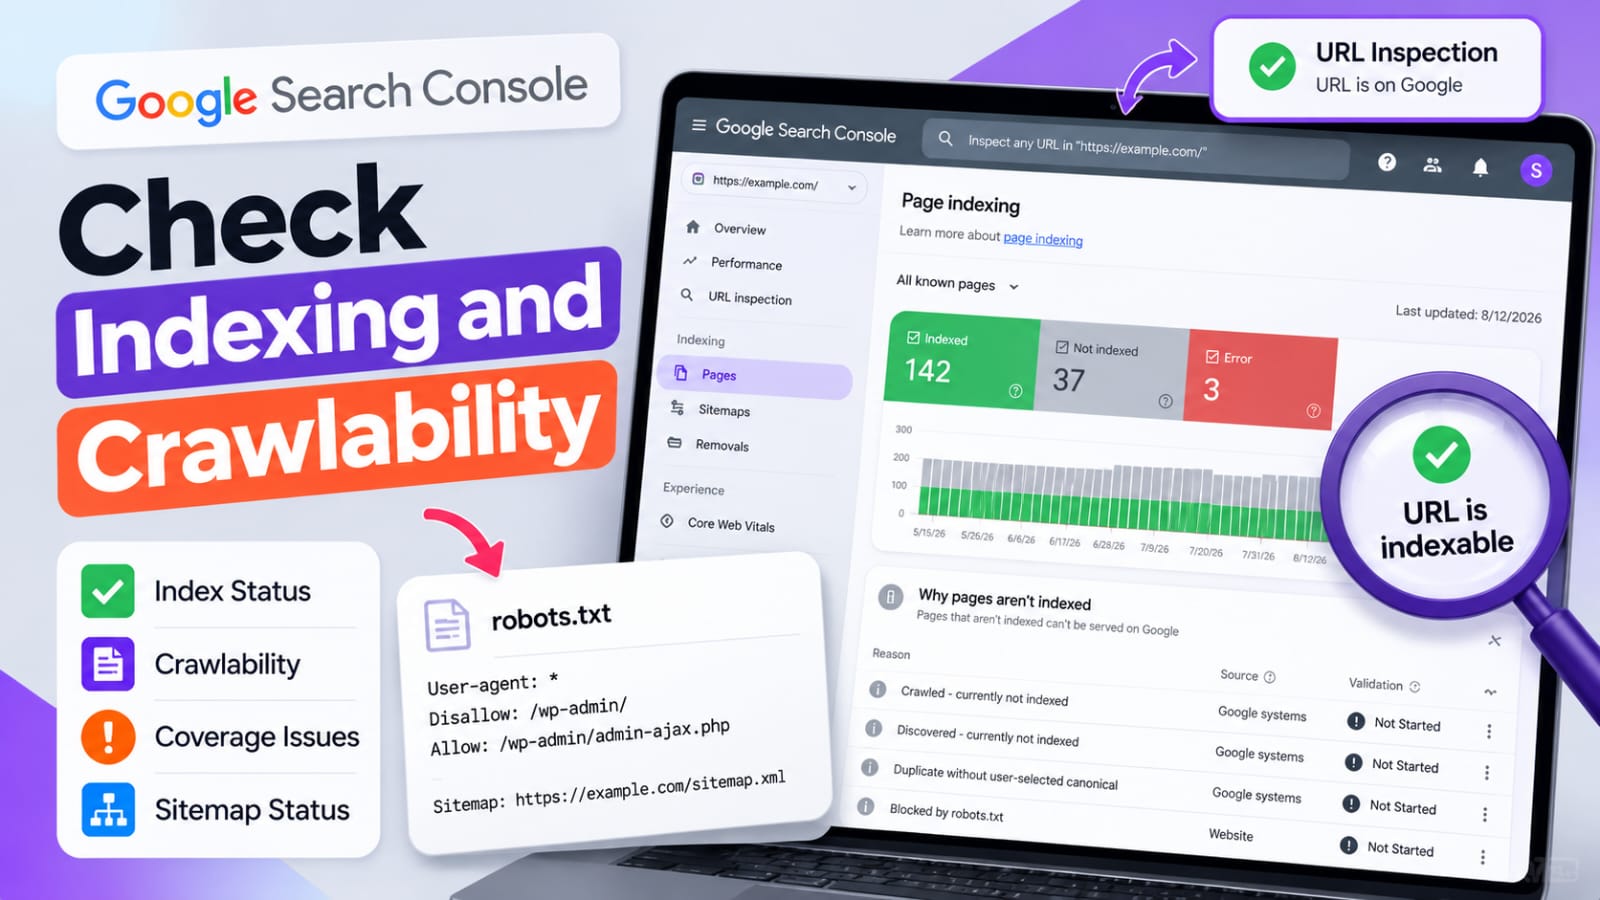
Start by checking whether search engines can access your website.Open the homepage and several important articles. Confirm that they load correctly without unexpected redirects, security challenges, or server errors.Next, check your "robots.txt" file:
"https://example.com/robots.txt"
Look for rules that might block important pages or resources.Remember that robots.txt controls crawling; it is not a reliable way to prevent a URL from appearing in Google Search.
If you want a page excluded from search results, a correctly implemented "noindex" directive is generally more appropriate. However, Google must be able to crawl the page to see that directive.
What to fix: Accidentally blocked articles, incorrect disallow rules, inaccessible resources, and pages that return errors instead of their intended content.
2. Check Indexing in Google Search Console
A crawlable page is not necessarily indexed. Your next step is to find out which important pages Google has actually included in its index.Open:
Google Search Console → Indexing → Pages
Investigate important URLs reported as:
- Crawled – currently not indexed
- Discovered – currently not indexed
- Duplicate without user-selected canonical
- Blocked by robots.txt
- Excluded by "noindex"
- Server errors
- Not found (404)
These statuses do not all represent errors. For example, a redirected URL or intentionally noindexed page may be correctly excluded.Concentrate on pages that should appear in Google but do not.Then use URL Inspection to check a specific page's indexed status, canonical information, and crawl details.
You can also test the live URL to investigate whether the current page is accessible and indexable.
What to fix: Accidental noindex directives, incorrect canonical settings, blocked important pages, unexpected redirects, and server problems.
3. Audit HTTP Status Codes and Redirects
Every important URL should return the appropriate response.
Common status codes include:
- 200: The page loaded successfully.
- 301: Permanent redirect.
- 302: Temporary redirect.
- 404: The requested page was not found.
- 5xx: A server-side error occurred.
A 404 is not automatically a problem. If a page was intentionally removed and has no relevant replacement, returning 404 may be appropriate.However, if a valuable article has moved to a new URL, implement a relevant permanent redirect when the move is intended to be permanent.Also check for redirect chains, loops, and redirects to irrelevant destinations.
For example:
"/old-article/ → /article-2025/ → /latest-article/"
If the final URL is the intended destination, simplify the chain where practical.
What to fix: Broken internal links, redirect loops, unnecessary chains, important URLs returning server errors, and redirects that lead visitors to unrelated content.
4. Check Canonical Tags and Duplicate URLs
Websites sometimes make the same or very similar content available through multiple URLs.
For example:
"https://example.com/article/"
"http://example.com/article/"
"https://www.example.com/article/"
Your site should communicate which URL is preferred and consistently link to that version.
Check the canonical tag on important pages and compare it with:
- The final URL after redirects
- The URL in your XML sitemap
- Internal links
- The URL you want Google to index
A canonical tag is a signal, not an absolute command. Google can select a different canonical if other evidence suggests another URL is more representative.
What to fix: Canonicals pointing to unrelated pages, conflicting canonical signals, duplicate URL versions, and internal links that consistently use the wrong URL.
5. Validate Your XML Sitemap
Your XML sitemap should help search engines discover the important canonical URLs you want considered for indexing.For WordPress, the sitemap may be generated by WordPress itself or by an SEO plugin such as Rank Math or Yoast.
Open your actual sitemap URL and verify that it:
- Loads successfully
- Returns valid XML
- Contains the intended URLs
- Uses the correct HTTPS version
- Does not list redirected or noncanonical versions unnecessarily
- Is accessible to search engines
Then review it under Google Search Console → Indexing → Sitemaps.
Google supports up to 50,000 URLs or 50 MB uncompressed per sitemap file. Larger sitemaps need to be divided into multiple files, generally coordinated through a sitemap index.
Important: A submitted sitemap does not guarantee that its URLs will be indexed.
6. Audit Internal Links and Orphan Pages
Internal links help visitors navigate your website and help search engines discover related content.
Use a website crawler to examine:
- Broken internal links
- Pages with no internal links pointing to them
- Excessive redirecting internal links
- Important pages buried deep in the site structure
- Links pointing to noncanonical URLs
- Pages linked only through unimportant navigation paths
An orphan page has no discoverable internal links pointing toward it within the audited site. It may still be found through a sitemap or external link, but it can be harder for visitors and crawlers to discover through normal navigation.
For example, an article about keyword research could link naturally to related articles about keyword clustering, search intent, and SEO content briefs.
What to fix: Connect important pages with relevant internal links and repair broken links that interrupt navigation.Avoid adding links merely to increase their number. Relevance and usefulness matter more than an arbitrary link count.
7. Test Core Web Vitals and Mobile Performance
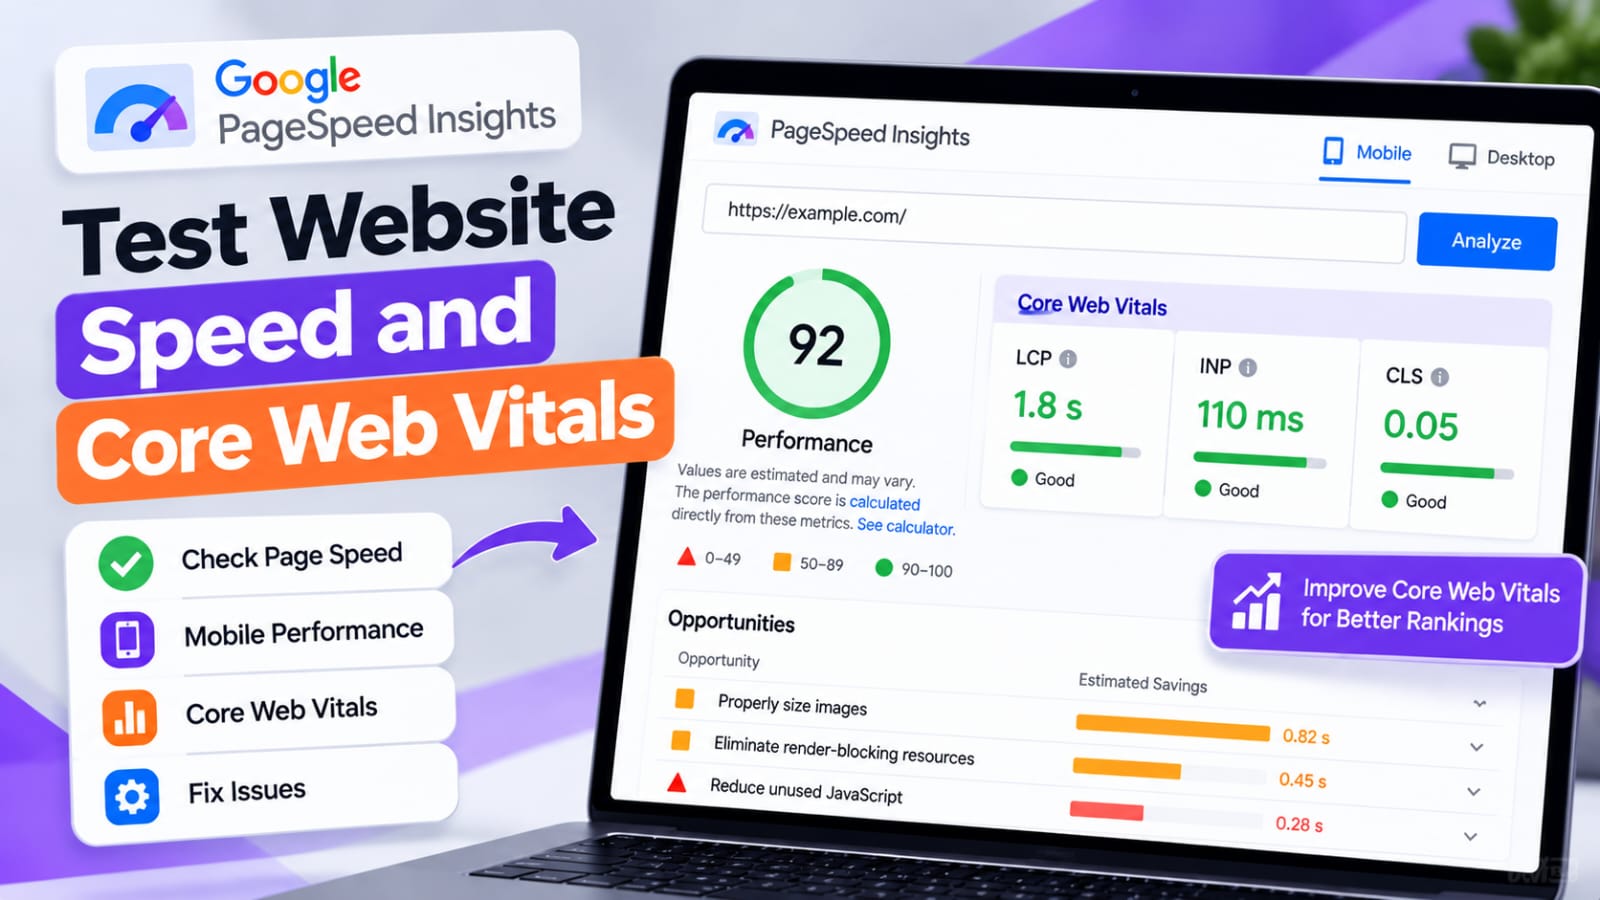
Technical SEO also includes the experience people have when using the website.Test representative pages with PageSpeed Insights and check the Core Web Vitals report in Search Console.
Google's current Core Web Vitals use these good-performance thresholds:
- LCP: 2.5 seconds or less
- INP: 200 milliseconds or less
- CLS: 0.1 or less
These thresholds are assessed at the 75th percentile of page visits. Field data reflects real-user experiences, while a laboratory test provides a controlled diagnostic snapshot.Investigate large images, slow server responses, excessive JavaScript, unoptimized CSS, layout shifts, heavy plugins, and third-party scripts.Also test your pages on mobile devices.
Check that the main content is visible, navigation works, text is readable, and interactive elements function correctly.Do not assume that every poor performance score comes from hosting. The cause may be a theme, plugin, image, script, cache configuration, or server limitation.
8. Check JavaScript Rendering and Page Content
Google can process JavaScript, but rendering problems can prevent important content or links from being understood as intended.
Check whether the main article content, navigation, and important internal links remain available when the page is rendered.Pay particular attention if your website uses JavaScript to load content, generate links, or change robots directives.
For example,
if an article's main content appears only after a script runs and that process fails, the rendered page may not contain the information you expect Google to see.Use URL Inspection and compare the live test results with what visitors actually see.
9. Review HTTPS, Security, and Site Configuration
Make sure the website loads securely over HTTPS and redirects alternative URL versions correctly.
Check:
- Valid SSL/TLS certificate
- HTTP-to-HTTPS redirects
- Consistent www or non-www configuration
- No redirect loops
- No unexpected browser security warnings
- No accidental password protection on public pages
- No security issues reported in Search Console
Also confirm that important resources are not blocked unnecessarily.If you use a CDN or caching plugin, verify that pages, CSS, JavaScript, and XML sitemaps are being served correctly after configuration changes.
A secure connection and reliable configuration are essential parts of maintaining an accessible website, although neither guarantees higher rankings by itself.
10. Validate Structured Data
Structured data helps Google interpret certain types of page information and may make eligible pages suitable for supported search features.
Check relevant markup for:
- Article or BlogPosting
- BreadcrumbList
- Organization
- Other schema types appropriate to the visible content
Use Google's Rich Results Test when testing structured data types supported by that tool.
Also inspect the rendered page to make sure the markup describes content visitors can actually see.Watch for duplicate schema output if your WordPress SEO plugin and custom code both generate the same markup.Valid schema does not guarantee that Google will display a rich result.
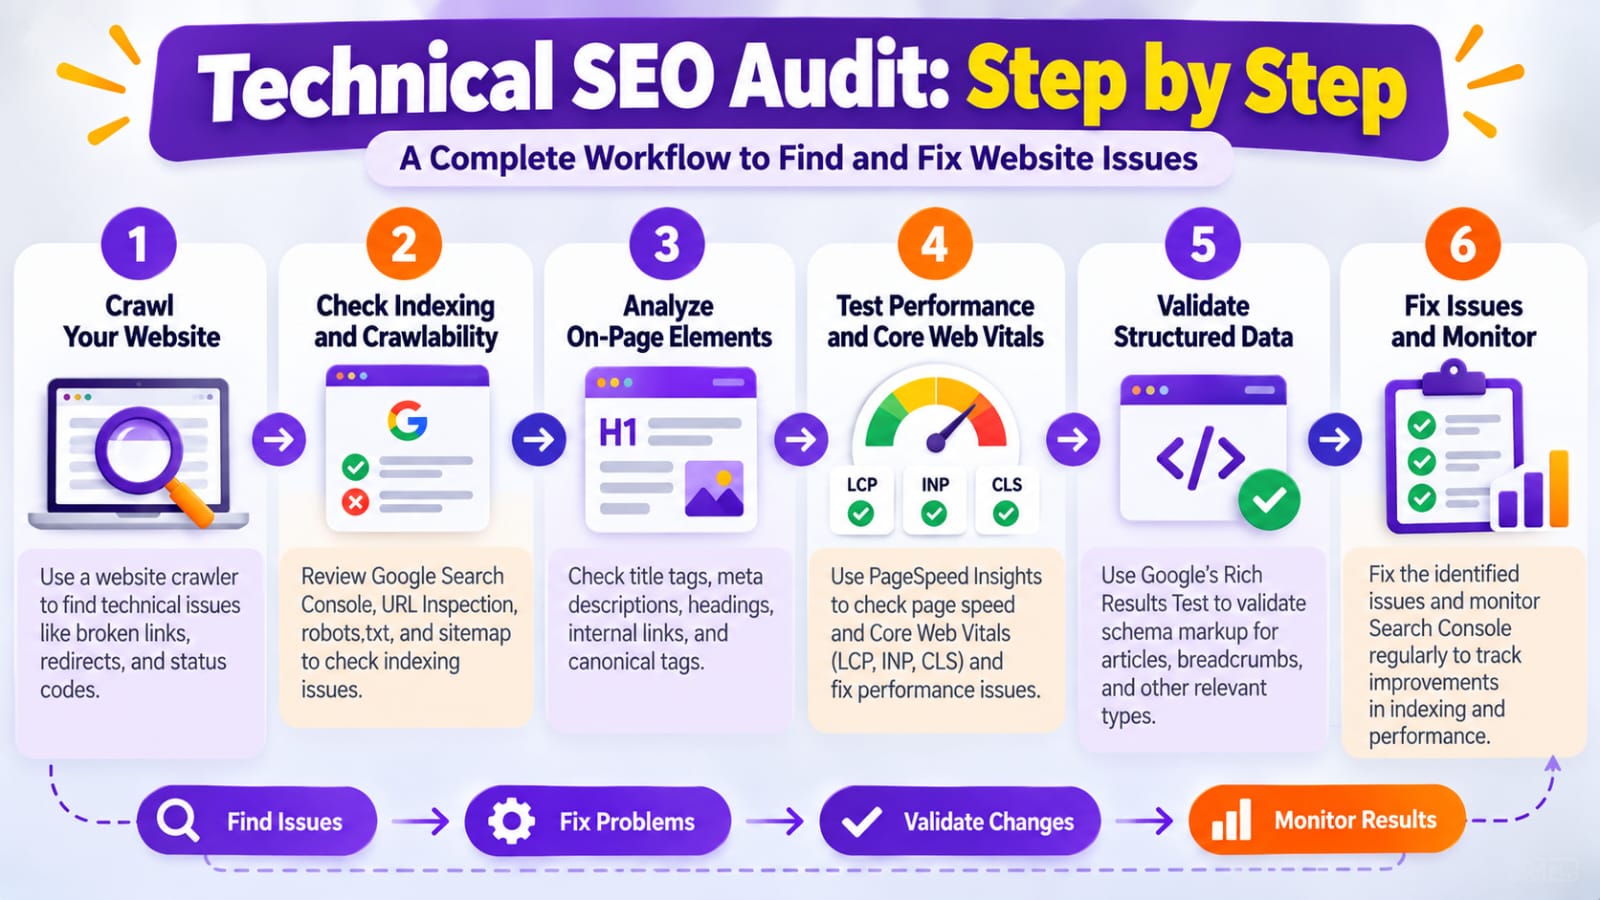
How to Prioritize and Recheck Your Audit
After completing the checks, create a simple spreadsheet with the affected URL, issue, evidence, priority, planned fix, and verification status.Fix critical crawling, indexing, and server problems first. Address broken redirects and incorrect canonicals next, then review internal links, rendering, performance, and lower-priority warnings.
After each important change:
1. Test the live URL.
2. Confirm the expected response and redirect.
3. Recheck the canonical and indexing directives.
4. Validate the sitemap or structured data if relevant.
5. Use Search Console to monitor Google's response.
6. Allow time for recrawling and reassessment.
Don't judge the success of an SEO audit using only an automated score. Measure whether important pages are accessible, correctly configured, indexable when intended, and working well for visitors.
Final Technical SEO Checklist
Before considering your audit complete, verify that:
- Important pages are crawlable and indexable.
- Robots.txt and noindex directives are intentional.
- Important URLs return correct HTTP responses.
- Redirects and canonical tags are consistent.
- The XML sitemap is valid and current.
- Internal links work and important pages are discoverable.
- Mobile layouts and page performance have been tested.
- JavaScript-rendered content is accessible.
- HTTPS and site security work correctly.
- Structured data matches visible page content.
- Search Console issues have been reviewed.
- Every significant fix has been tested.
A technical SEO audit is not about eliminating every warning. It is about identifying and fixing the issues that prevent search engines from accessing, understanding, and indexing the right pages—and ensuring people can use those pages reliably.
My Practical Experience
While working on my own WordPress website, I learned that technical SEO problems can become confusing when several issues appear at once. Sitemap accessibility, caching, plugin settings, indexing reports, and URL configuration can all require investigation, and fixing one does not automatically solve the others.The most useful lesson was to check the actual behavior of important URLs before making changes.
I now approach technical troubleshooting in layers: confirm accessibility, inspect indexing, review sitemap and canonical signals, check internal links, and then investigate performance and other warnings.This is more reliable than attempting to fix every issue reported by an automated tool. It also helps distinguish a genuine technical barrier from a warning that may have little practical effect.